
Quick start guide.
This quick start guide serves as a checklist to get you underway. Always read the owner's manual thoroughly before you run the machine, and always read and follow the fumigant label directions.
Need help getting started?
Prefer to start by phone?
Hook up to the tractor
Level the hitch with the leveling bolts, connect the pair of hydraulic hoses, and plug in the electrical cable — or connect directly to 12V DC with the supplied fused cable. The machine needs one hydraulic circuit and a 35 amp electrical supply.
- The smaller single hydraulic hose is not required — it only adjusts accumulator pressure.
- Accumulator should read 700–800 psi. Never exceed 1,200 psi.
Set the hydraulic flow
Set tractor hydraulic flow to about 3–4 gallons per minute, roughly 30% of maximum. The whole raise or lower cycle should take 2–3 seconds. Both sequencing flow control valves are normally about a quarter turn open.
Test the electrics standing still
Master switch up. Run the fan, then the meter, with the machine stationary. The meter will only run if the fan is already running — that order matters every time you operate.
Normal field operation
Master ON (up) · Fan and Meter OFF (down)
Limit switches take over once the machine is in the ground.
Blow the inert test material through
Put the supplied inert test material — the bubble gum — in the product hopper. Turn on the fan, then the meter. Watch it fall down the drop tube into the air stream; it should leave the back of the torpedo at considerable velocity. This proves the whole air and metering system before any fumigant goes near the tank.
Field test in the ground — still no fumigant
Moving forward at 2–3 mph, activate the tractor hydraulic and lower the disk and shank into the ground. Work down this list before the fumigant container is ever opened.
- Sequencing — Disk lowers first to cut debris, then the shank. Raising, the shank comes up first, then the disk.
- Torpedo level and deep — Level under load at full working depth — at least 10 inches — with no constant tripping.
- Fan and meter timing — Fan starts as the shank begins to lower; the meter starts only at full depth and stops the moment you raise.
- Dig the tunnel out — Open two holes 10 feet apart. You should see straight through — packed and sealed on top, open underground.
Dump the test material and load fumigant
Empty the inert material out of the tank. Read and follow the fumigant label directions, wear the required protection, then unthread the cap and pour in product — never more than you expect to use that day. Replace the cap, master switch on, and go.
Any product left in the tank at the end of the day must be removed. It keeps gassing off and becomes a deadly hazard.
Soil Conditions
Best conditions for optimal gopher control.
Timing
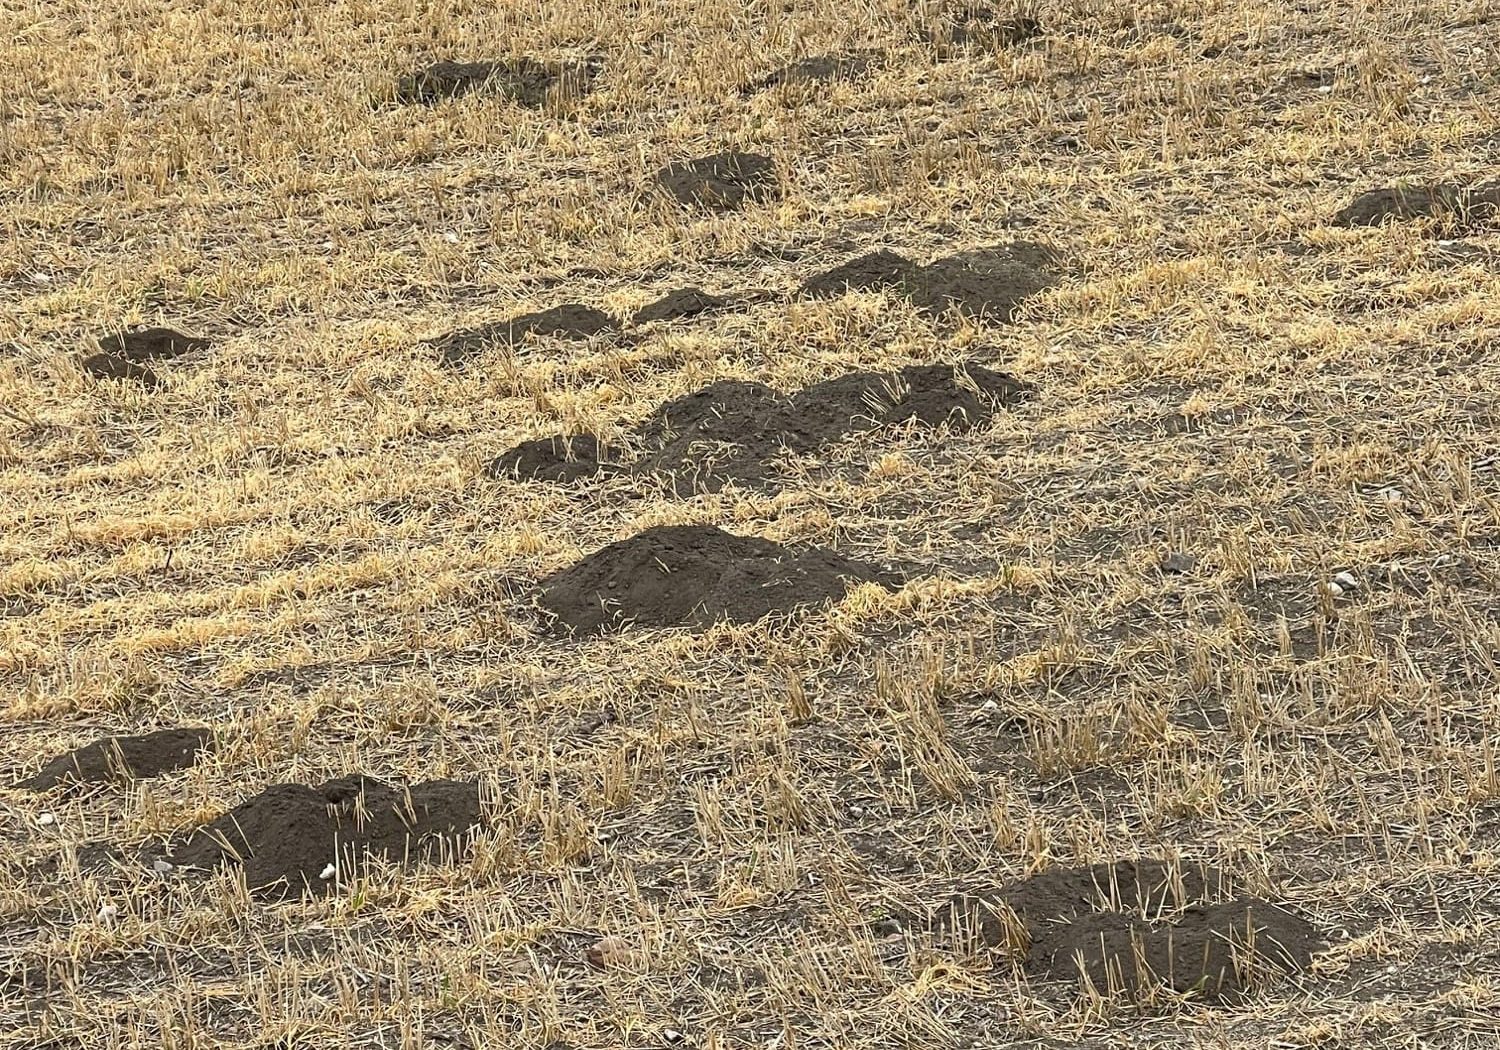
Treat fresh digging
The gas is only active for a few days. If the gopher isn't there or isn't active, you'll be disappointed. Avoid late spring, when females are in the burrow with babies — you'll take the males and leave the mothers.

Soil Temperature
45°F or warmer
Measured at the tunnel floor, not the air. Warmer soil releases the gas fast enough to reach a lethal concentration — fumigant is not released in sufficient quantity at colder temperatures. Stake an indoor–outdoor thermometer with the probe at tunnel depth, and stop treating in fall when it drops to 45°F.

The Cut
A well sealed cut
If the cut isn't sealed the fumigant escapes or is diluted by air from above. When the ground is so dry it fractures into hard lumps, don't treat. Really wet ground is fine as long as the cut stays closed.

The Tunnel
The Tunnel Stays Open
The tunnel is a fumigant pipe as well as a gopher highway — the gas moves along it and sideways through the soil. Dig two holes 10 feet apart and check to make sure you can see hole to hole. Always operate at full depth. 10 inches or more has always given better control.

Soil Moisture
Some Soil Moisture
Moisture activates the tablets and keeps the tunnel from collapsing. The test: a handful of dirt that just barely sticks together but doesn't run through your fingers. Some owners run the pivot a bit after last cutting to get there.
Important
Give it time
The tunnel has to stay undisturbed for at least a couple of days while the fumigant distributes. Level the mound tops if you want — drag a chain or light harrows — but never aggressively enough to collapse the tunnel. Pulling anything with the machine voids the warranty.

Two Ways to Treat
Whole field or spot treatment?
Treating the whole field
If you can almost step from one mound to the next, treat the entire field. Level all the mounds on a small area — say 10 acres — then treat it with passes 20 feet apart at 3–4 mph. Come back in four days: fresh digging, especially between the passes, means you haven't got them all. Tighten the spacing or slow down until you find what your soil wants.
Travelling faster drops fewer tablets per acre and can cause more ground disturbance. Up to 6 mph is possible in heavy populations, as long as the tunnel stays clean and sealed.
Spot treatment
Once they're under control, patrol in spring and fall and treat fresh digging — usually around field boundaries, occasionally out in the middle. Drop the machine into the ground 10 feet before the area and treat through it at 2–3 mph. Two parallel passes, or an X, if the patch warrants it.
On our own farm we patrol any field before it goes into alfalfa, and again after the stand is terminated. You can do it between cuts if needed. You may never get every one — the goal is a smooth field, faster travel speeds, and less dirt in the harvested crop.